Back to TheWorxHub for Senior Living Main Menu
Using the Calendar
TheWorxHub calendar can be used to visualize your work schedule, reschedule work order appointments, and identify workload and availability for staff members. *Note: By double-clicking on a generated work order (except a future-scheduled work order) you have access to the full work order form and all work order panels, such as Labor, Asset, Meters, etc.
- To access TheWorxHub Calendar, click on the Calendar tab.
Populating the Calendar
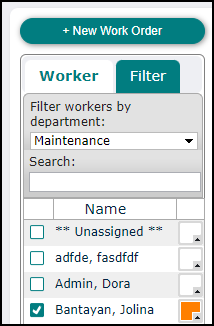
- Check the box next to your staff member's name(s) to populate their work orders on the calendar.
- To narrow down the list of staff members, check the box next to the department name in the Departments drop down menu.
- Use the color picker next to the employee's name to change the color of the employee's work orders that appear on the calendar. TheWorxHub will remember what color you select for that employee and apply it in the future.
- You can also search for an employee in the Search box above the employee list.
Additional Filters
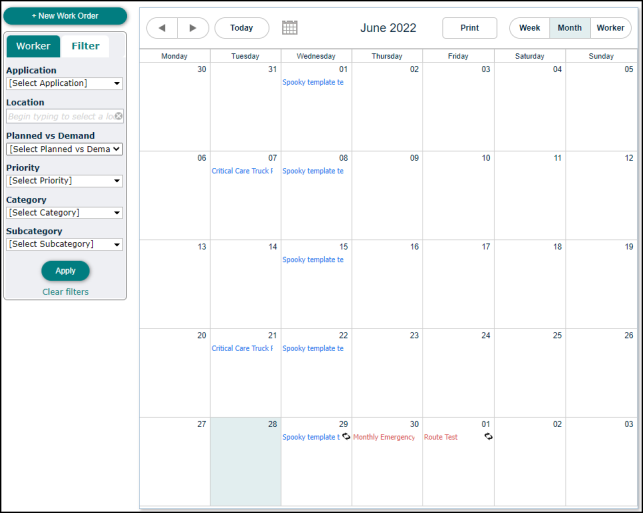
- Once you have selected the staff member(s) that should appear on the calendar, click on the Filter tab to apply any necessary additional filters to the data displayed on the calendar.
- Select the filters needed and click Apply to refresh the data shown on the calendar.
- To remove any selected filters, click the Clear filters link.
Modifying the Schedule from the Calendar
The calendar allows you to quickly identify any scheduling issues including overlapping appointments, not enough time for breaks, or work orders without a scheduled appointment time. The easiest way to view any scheduling issues is by clicking on the Week view of the calendar.
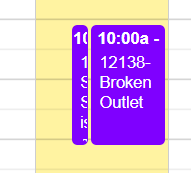
Changing the Time of a Work Order
If a work order is overlapping with another work order, or the allotted appointment time does not provide adequate time in between work orders, you can quickly edit the appointment times for either the individual work order or the schedule series.
- Double-click on the work order that needs to be edited. This opens either the Scheduled Work Order Series pop-up window, or the Work Order details pop-up window.
- Click on the Appt Start field and select a new start time for this appointment.
- The Appt End time will automatically update according to the current estimated hours if an employee is assigned to this work order. *Note: If you have already assigned an employee to the work order and have entered Est Time, you can edit the Est Time field in the Labor panel to change the length of the appointment.
- If you have not yet assigned an employee and entered an estimated time, you will be required to select an Appt End time.
- Click Save.
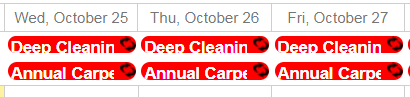
Work Orders without a Start Time
Sometimes scheduled work orders are set up without being given an appointment start and end time and will show at the top of the calendar.
- Double-click on the work order that needs to be edited. This opens the Scheduled Work Order Series pop-up window, or the Work Order details pop-up window.
- Click on the Appt Start field and select a start time for this appointment.
- Click on the Labor panel to expand it.
- If this work order is currently unassigned, check the box next to the employee you need to assign and click Add Selected.
- In the Est Time field, enter the duration for the appointment.
- Click Save. The Appt End time will automatically update according to the estimated hours.
